
3D Photography & Digital Art
I create 3D images using 3D rendering, stock images and stereoscopic photos.
Formats:
Cross-Eyed
If you can go cross-eyed, this format is best as it doesn't require specific tools and has the best image quality. You can view these on a 3D TV as well, but may have to reverse the image order (Left-Right, depending on your TV). If you're not used to going cross-eyed, you can try putting your thumb up halfway between you and the image, and focussing on your thumb, then quickly trying to look at the 3D image. It helps a little if the image isn't too big (if you have a large monitor, don't make if full screen, maybe just 1/4).
See: Cross-Eyed 3D Cosplay portfolio.
Red-Blue Glasses
Anaglyph images require Red-Blue glasses like you might find in 3D kids books or antique 3D movies. The colours are muddled as each eye gets a filtered view, but it's one way people who can't go cross-eyed can see the 3D effect. If you see me at a convention and would like to try it, let me know as I sometimes have spare glasses with me.
See: Red-Blue glasses portfolio.
Depth Mapped
The Depth Mapped format also allows people to see a bit of the 3D effect without glasses or going cross-eyed but it's not a true 3D image (some info is missing). It also requires a special viewer to see the effect (eg. Looking Glass, or FB wall).
I also do 2D cosplay photography:
See: 2D Cosplay portfolio.
Cross-eyed 3D Image: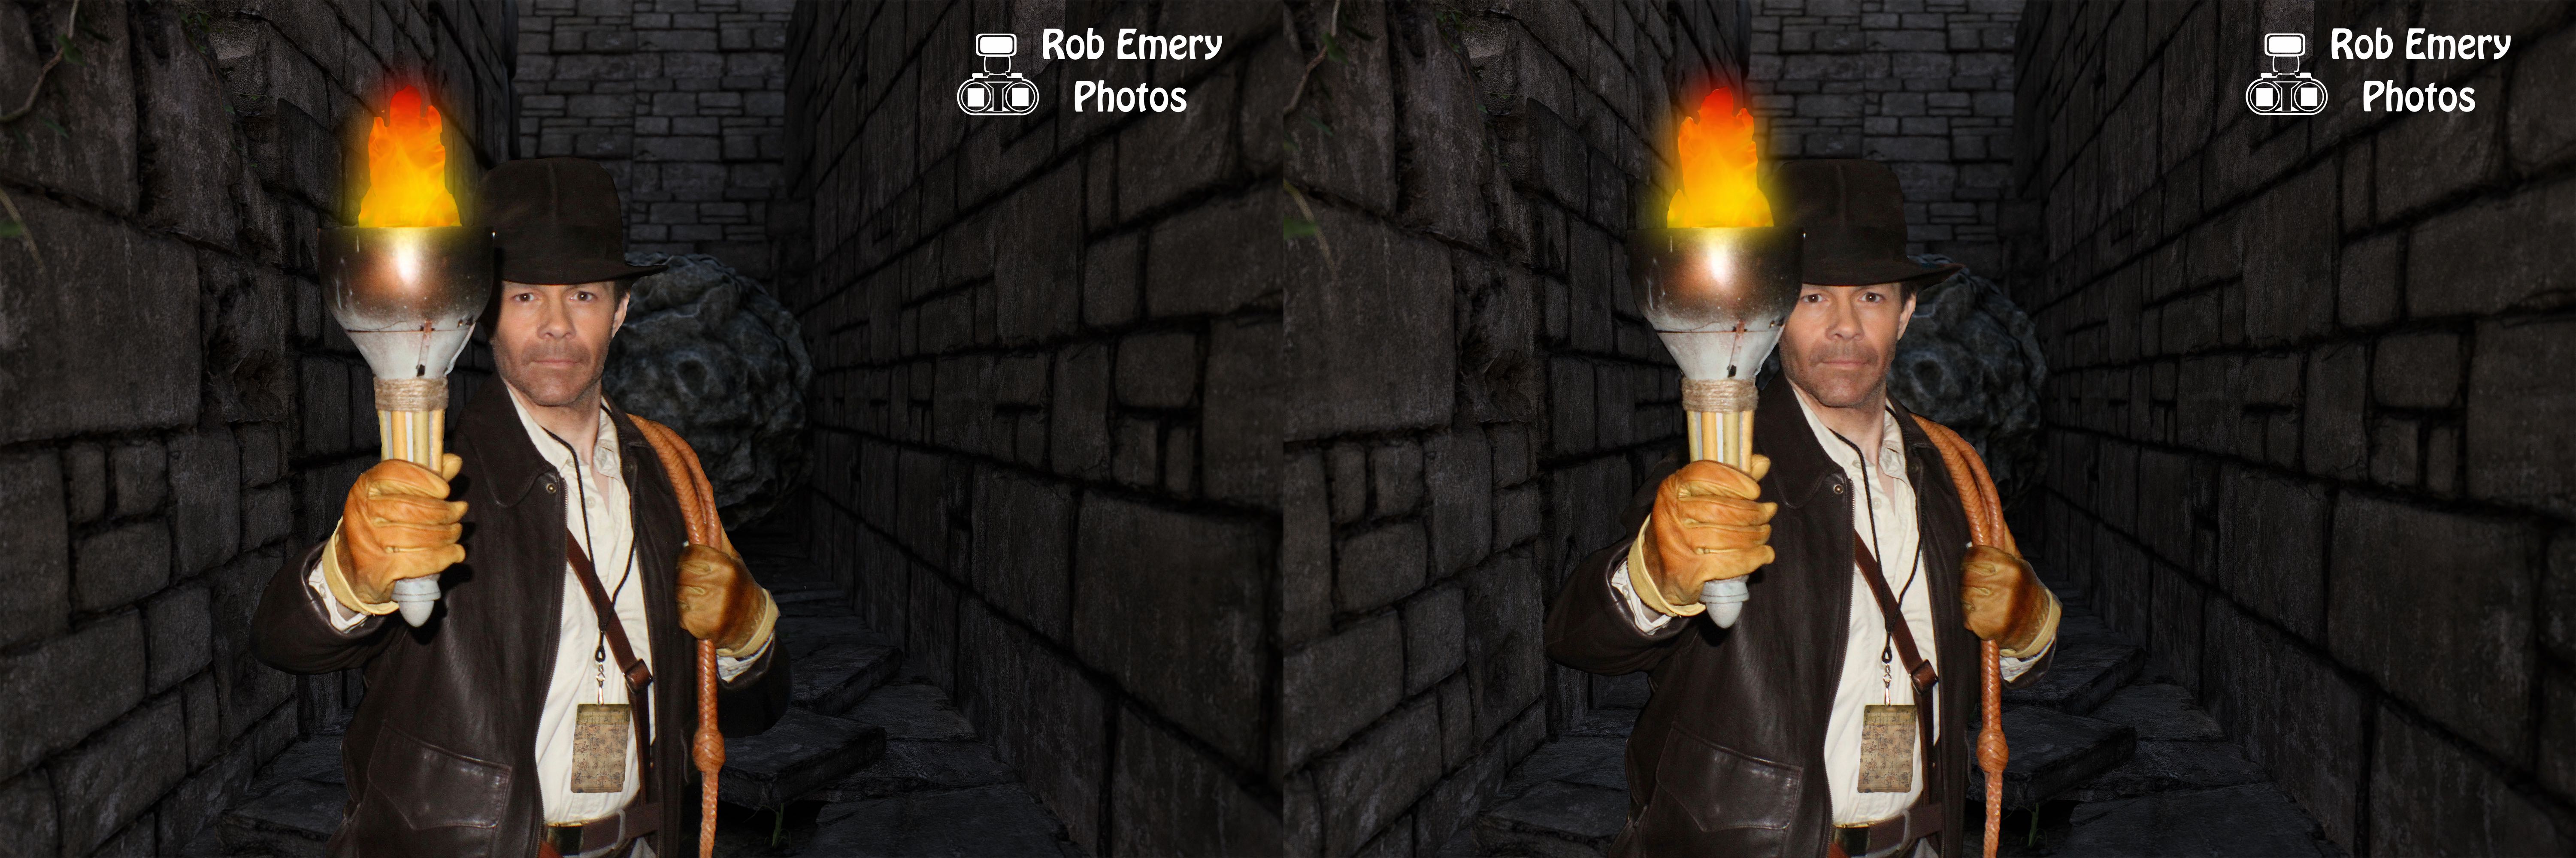
|
Red-Blue Glasses 3D Image: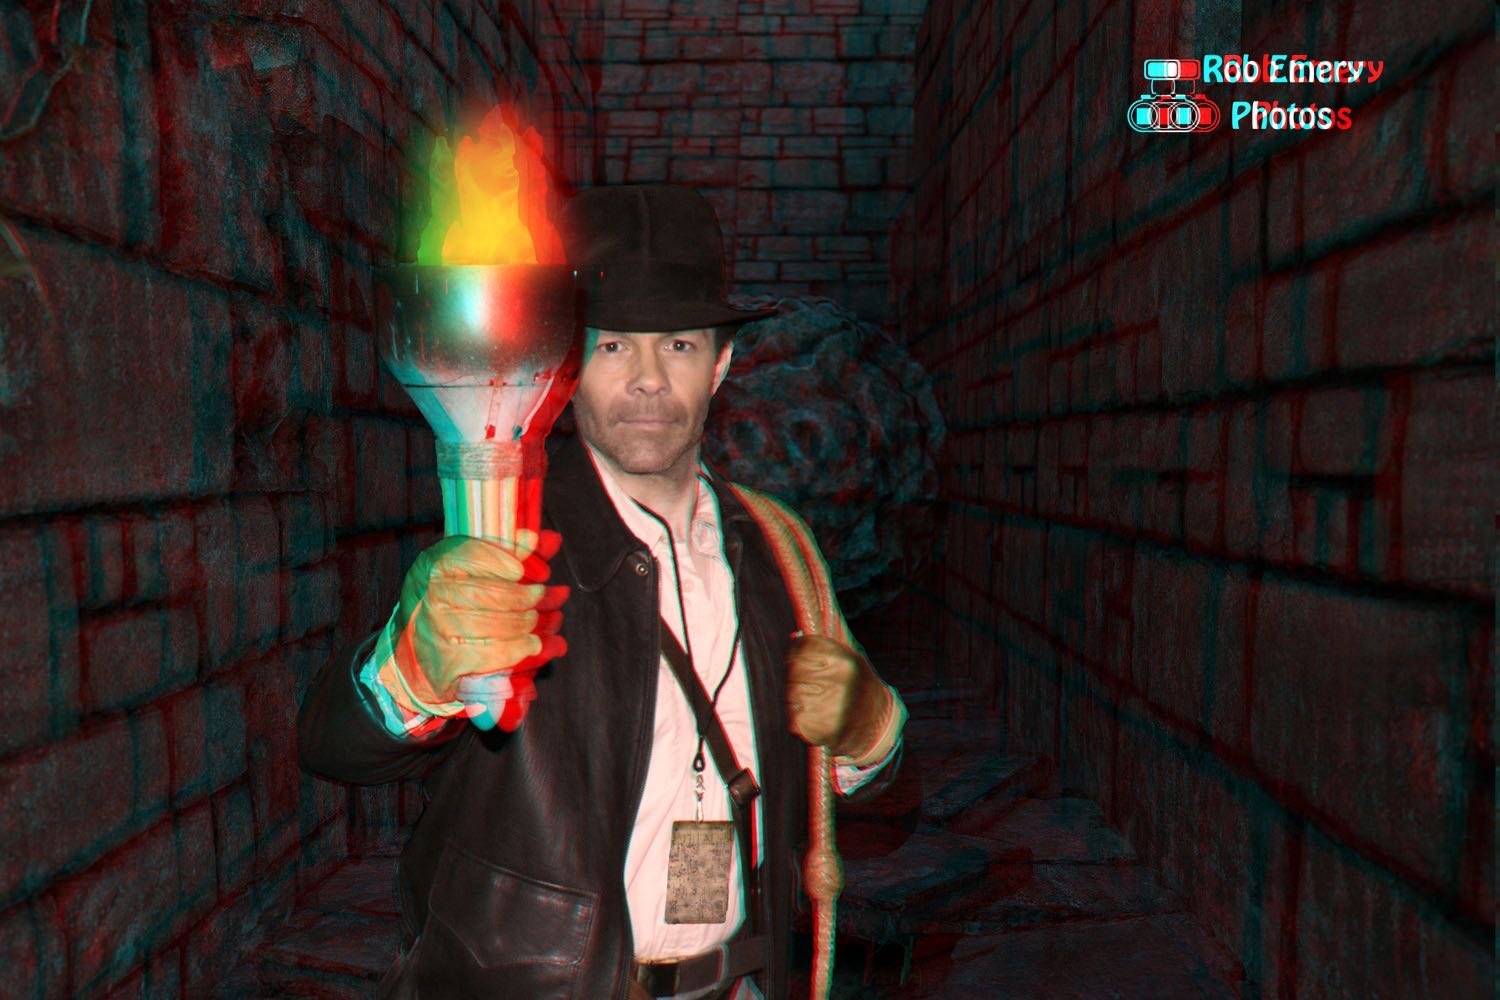
|